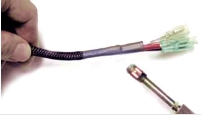
Materials Needed: Heat shrink tubing, heat gun or lighter.
Steps:
1. Cut the Sleeving: Measure and cut the braided sleeving to the desired length using a hot knife or soldering iron to minimize fraying.
2. Slip on the Heat Shrink: Slide a piece of heat shrink tubing over the end of the sleeving, leaving about 1/4 inch of the tubing extending past the sleeving.
3. Heat the Tubing: Use a heat gun or lighter to evenly shrink the tubing around the sleeving. Ensure the heat is applied evenly to avoid burning.
4. Secure the End: As the tubing shrinks, it will secure the sleeving in place, preventing fraying and providing a neat finish.

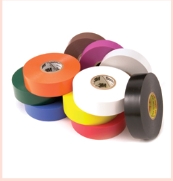
Materials Needed: Electrical tape, scissors.
Steps:
1. Cut the Sleeving: Use a hot knife or a soldering iron to cut the sleeving.
2. Wrap with Tape: Wrap electrical tape tightly around the end of the sleeving, ensuring it covers about 1/2 inch of the sleeving and extends beyond it slightly.
3. Press and Secure: Press the tape down firmly to secure braided sleeving. This method is quick but may not be as durable or neat as heat shrink tubing.

Materials Needed: Small cable ties (zip ties), scissors.
Steps:
1. Cut the Sleeving: Use a hot knife or soldering iron.
2. Secure with a Cable Tie:Wrap a cable tie tightly around the end of the sleeving.
3. Trim Excess: Cut off the excess length of the cable tie. This method is easy and quick but can leave a bulkier end

4. Hot Knife
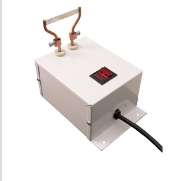
Materials Needed: Hot knife or soldering iron.
Steps:
1. Heat the Knife: Heat the knife to a sufficient temperature.
2. Cut and Seal: Cut the sleeving with the hot knife, which will simultaneously seal the ends, preventing fraying.
Each method has its own advantages depending on the specific application and the environment where the sleeving will be used.